Connect

Tuesday, October 13, 2009

VIDEO: CCO Haul

Check out my personal blog to see other pictures from my trip and don't forget to follow me! Click Here

Last weekend I went to Indio with my family and we made a stop at Desert Hills Premium Outlet in Cabazon. I mainly wanted to go shopping for clothes but I couldn't leave without buying anything from CCO.

Compared to the CCO in San Diego, I liked that this one had a wide selection of eye shadows and blushes. I saw a lot from Limited Edition collections like Hello Kitty, Heatherette, Fafi, etc. But I didn't end up getting anything from any of those collections.

Anyway, I didn't spend too much money on makeup but I just decided to do a haul video since I haven't done one before. I also mention in the video that a lot of these products that I purchased are part of MAC's permanent line so bare with me while I catch up on things that have already been around!


Sunday, October 4, 2009

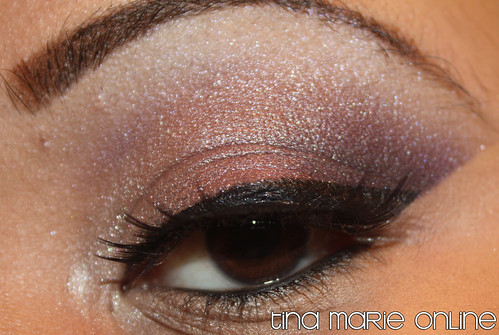
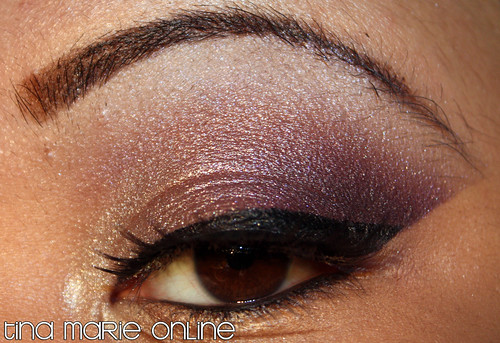
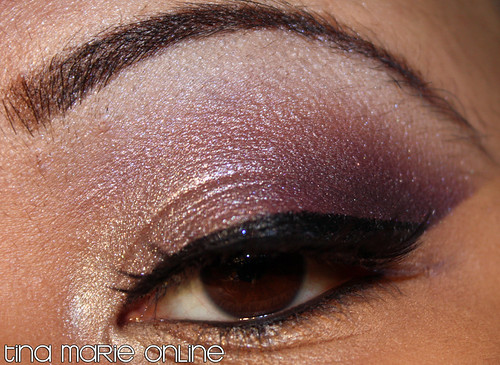
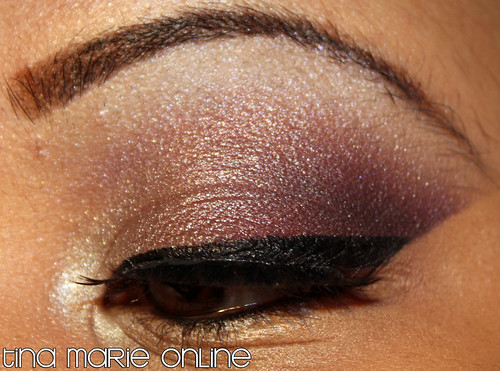
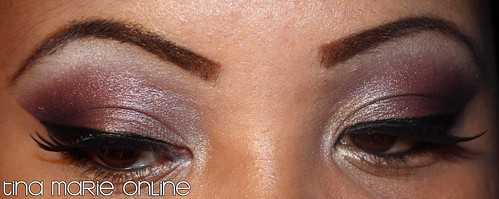
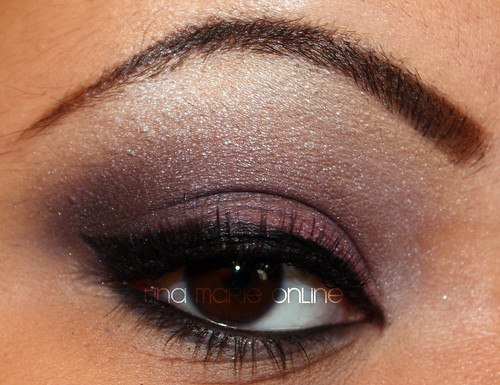
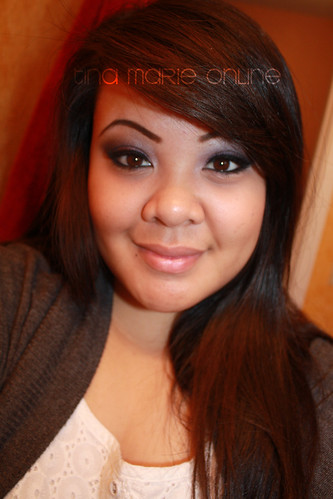
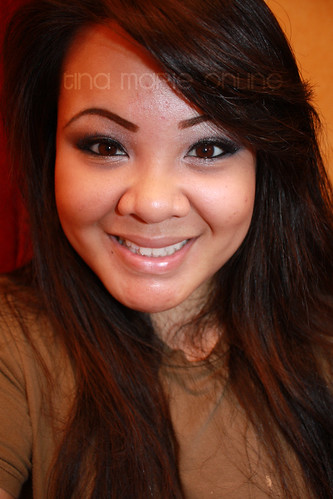
EOTD Using Circa Plum Pigment

Sorry guys for the lack of FOTD's. By the time I'm done working on my eyes, I get really lazy so I skip taking pictures of my entire face. I'm still trying to perfect taking close up shots with my DSLR camera. It's tough! Especially since the camera is so big and bulky. Right after I did this look I learned how to do Live View on the camera so I can see on the screen what exactly I'm aiming at. Before that, I just had to guess at what I was shooting which got really frustrating!

Also, with my DSLR camera I feel like it doesn't pick up the true colors of my looks. They sometimes come out looking faded or washed out and that's the last thing I would expect in a DSLR camera. So that's the reason why I included so many eye shots of this look. I tried to pick out one of the best ones but they all seemed really good so I thought I'd post them all. Haha!

Everything I used was MAC unless otherwise stated.
  • Bare Study paint pot applied as a base
  • Circa Plum pigment (LE) applied all over lid
  • Silver Fog pigment (LE) applied to inner corner and inner lower lash line
  • Flammable paint (discontinued) applied to outer corner (small amount goes a long way)
  • Fig 1. eyeshadow applied to outer corner
  • Dark Soul pigment (LE?) applied to outer crease
  • Lurk About pigment (LE - similar to Frozen White pigment) applied above crease and close to brow bone
  • NYX Jumbo e/s Pencil in Milk applied to browbone
  • NYX eyeshadow in White applied as highlight
  • L'Oreal Lineur Intense liquid eyeliner on upper lash line
  • Revlon Colorstay eyeliner applied to lower waterline
  • unknown false eyelashes

I hope you guys like it. Thanks everyone for all the positive feedback on the past looks I've done!

Saturday, October 3, 2009

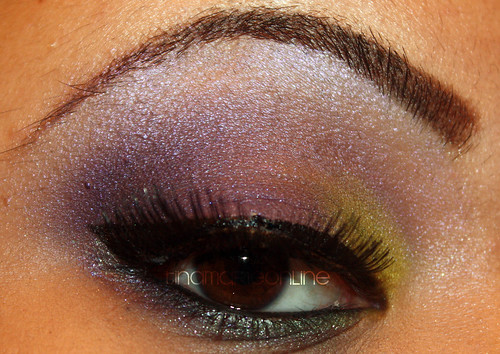
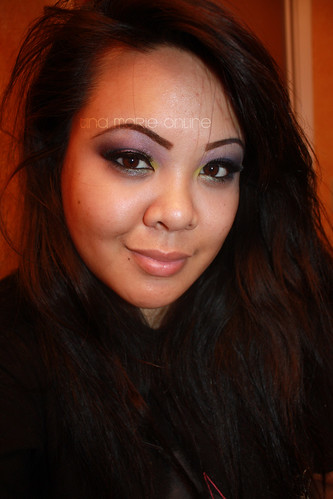
Purple and Yellow-Green EOTD


MAC unless otherwise stated
Pharaoh paint pot applied to inner eye
Eyepopping eyeshadow applied to inner eye
Viz-A-Violet pigment applied to middle eyelid
Parfait Amour eyeshadow applied to middle eyelid
Purple Haze eyeshadow applied to outer corner
Violet Trance eyeshadow applied to outer corner
Carbon eyeshadow applied to outer corner
Beautiful Iris eyeshadow applied to browbone
Spiritualized pigment applied to inner half of lower lashline
L'Oreal Lineur Intense Liquid Eyeliner applied on upper lashline
Revlon Colorstay eyeliner on lower waterline
Ardell lashes in "Naomi" (I hate these false eyelashes!)

Thursday, October 1, 2009

EOTD Using Maybelline Eyeshadow

** Ulta is having a BOGO sale on NYX, L'Oreal, Maybelline, and Max Factor eyeshadows, mascaras and eyeliners!! **

I did a look using the Amethyst Smokes quad from Maybelline. Maybelline came out with these new quads, I'm not sure how long ago but the packaging is black. And I remember specifically that the Amethyst Smokes quad was one of the newer quads that caught my eye. I wanted to purchase it when I first saw it at Bed Bath & Beyond but I wanted to wait until they were on sale. So I went to Ulta a few days ago and took advantage of the buy one get one free.

Anyway, this quad is gorgeous. I know in the pictures you can hardly see the purple-plum color but in person it was more obvious. Also, I'm using an SLR camera so I'm still trying to get the hang of using it. I hope you like it! And I hope you guys consider using Maybelline eyeshadows. If you do begin using them, let me know! I'd love to see some looks for inspiration. (:


HOW I APPLIED IT:
I applied it exactly how it says to on the eyeshadows.
I also applied the BROW BONE color to the inner eye area.


Tuesday, September 29, 2009

MAC Dupes + My Favorite Drugstore Brand for Eyeshadow + A Look

I know Maybelline is famous for their mascara line because they have so much to choose from but I LOVE their eyeshadows! It's my favorite brand of drugstore eyeshadow ever!

I know many women like NYX, Covergirl, Milani, L'Oreal, etc. but I've come to find that a lot of Maybelline eyeshadows can be possible dupes for some MAC eyeshadows, if not better!

After swatching a couple of eyeshadows from Maybelline and MAC, I noticed that a lot of the Maybelline eyeshadows apply much smoother and apply way better pigmentation compared to MAC. I highly recommend Maybelline eyeshadows for those who are on a budget!


Click on images to enlarge


Here's a look I did using the Velvet Crush quad. It's a soft purple smokey quad with hints of silver in grey. The highlight color also has a small hint of pink in it. It's gorgeous!


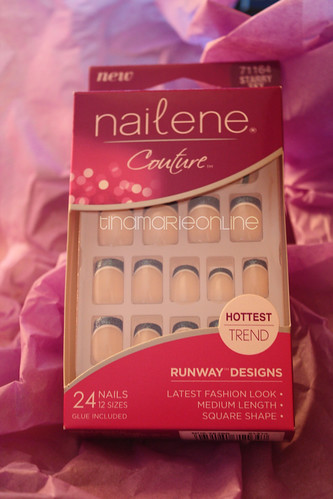
Nailene Couture

Click the link to read product reviews for Revlon Runway nails and other tips for applying artificial nails (click here).


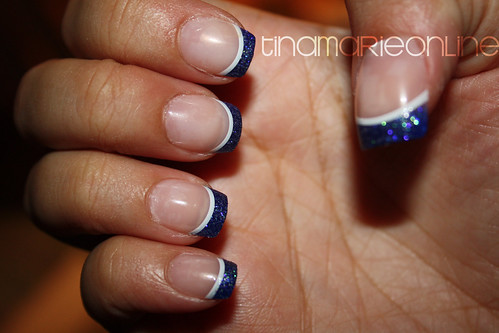
I'm here with a product review for artificial nails by Nailene. My take on artificial nails have not always been successful but I feel like with more practice, the outcome gets better. I attempted to apply these nails again and I think I did a better job this time. I didn't get that many air bubbles and I applied the glue much neater which didn't cause it to spread and get all over my skin.

PROS:
The length is perfect especially for everyday.
You get a nice makeover for your nails for less than what you would normally pay at a salon.
Each kit comes with a manicure stick & a file so in case a press-on may be too wide, you can easily file it down to fit your fingernail.
The nail glue had a longer nozzle for where the glue comes out which made a more precise application.
Nails come in trendy designs especially from their Couture collection.
The manicure stick is made of plastic which is so much better than the wooden kind because it's more sturdy and it doesn't dent when you try to push your nails.

CONS:
Air bubbles, as always when it comes to artificial nails. I can never prevent them!
I had some trouble finding the right size for my nail bed. I tried filing them down to fit my fingernail but I was afraid I would make a mistake so I just left some of them the same.
Glue can get messy if you apply too much.

OVERALL:
I hardly ever get my nails done at a salon anymore because it's expensive and there's no reason to get my nails done professionally if all I do is work or go to school. So these nails are a great alternative if you don't want to spend so much money at a salon. Artificial nails are great for special occasions because it's a fast and inexpensive way to dress up your nails for a night out without worrying about ruining your nails the way acrylics do.


PICTURES WERE TAKEN WITH A CANON EOS DIGITAL REBEL XSI

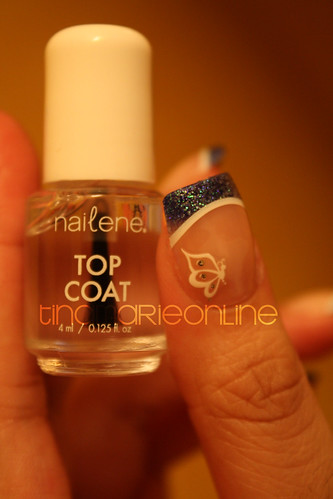
This nail design is from the Nailene Couture collection called Starry Sky
with a butterfly sticker from the Bedazzle pack.

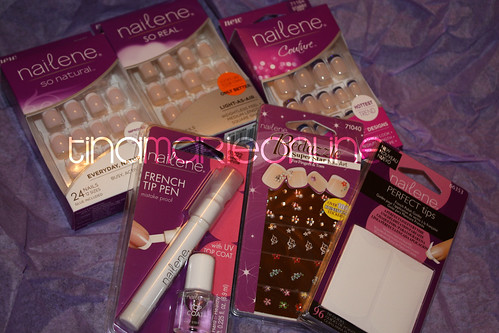
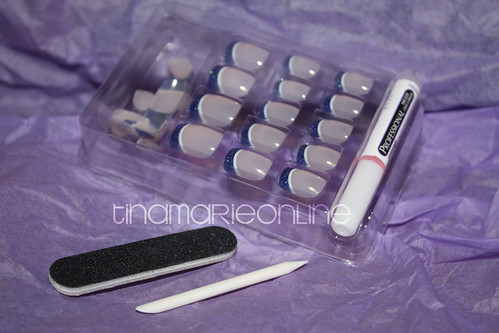
Below:
1) 3 sets of Nailene artificial nails
2) Nailene French Tip Pen with UV top coat
4) Nailene Bedazzle Super Star nail Art
5) Nailene Perfect Tips french polish guides

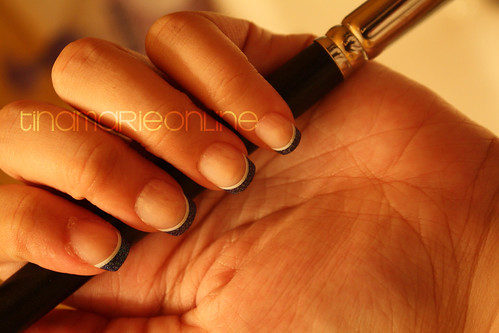
Nailene Couture in Starry Sky

Without flash

With flash


I also want to thank everyone who participated on my Revlon Nails and False Eyelashes giveaway. I contacted the winner (Beautygirl9190) privately but I thought I'd give her an honorable mention on my blog. Thanks again everyone for the support!


DISCLAIMER: In no way is this blog accepting any form of payment for products received by companies. The products reviewed on this blog are based on the opinions and experiences of the author. The products in this review were provided by the company.

Monday, August 31, 2009

How To Get Whiter Teeth Fast - Plus White 5 Minute Speed Whitening Gel Review

**EDIT: For people with sensitive teeth like myself, the packaging doesn't label how much Hydrogen Peroxide is in the gel, which is the bleaching agent. But so far I haven't noticed any discomfort on my teeth. Your main concern is to keep this gel away from your gums since it can cause a more sensitive reaction from the bleach.**

This is a product review about the Plus White 5 Minute Bleach Whitening Gel. I really wanted a quick and inexpensive way to whiten my teeth before school started. I watched Kandee Johnson's YouTube video about this product so I decided to give it a try. (Click here to watch)


WHAT IT CLAIMS: It takes advantage of the same bleaching action dentists use to professionally whiten and brighten teeth (the oxygenating action of peroxide) to gently lift away stains, eliminate yellowing and dramatically whiten teeth. Bleaching begins with the very first application and you'll see whiter, brighter teeth within days, guaranteed!

INGREDIENTS: Water, Poloxamer 407, Glycerin, Hydrogen Peroxide, Methyl Salicylate, Sodium Saccharin, Phosphoric Acid

WHERE TO FIND IT: Drugstores like Walgreens and CVS.
PRICE: $6-$8
VALUE FOR PRICE: 5 out of 5
MEETS EXPECTATIONS: 5 out of 5
OVERALL RATING: 5 out of 5


PROS:

inexpensive
works fast
doesn't irritate teeth but keep away from gums
has a very slight minty taste

CONS:

gel can get messy for some
even though it has a minty taste, I wouldn't recommend swallowing it.

OVERALL:
I love this! I would definitely repurchase this product once I'm out. I only bought the gel and not the complete system. (The system includes a pre-mouthwash and a mouth guard). To apply this product I use a cotton swab and I cover my teeth completely making sure I don't miss any spots in the crevices. I used Kandee Johnson's trick by using the mouth guard that football players use. (Click here to watch) It might sound weird but it really does the trick! Even though the packaging says "5 minutes" the gel actually doesn't start working until 5 minutes after application. So I leave this gel in for about 20 minutes and then I rinse my mouth. The results are amazing and I've only been using it for a few days.

I recommend everyone to give it a try. You'll be surprised how white and bright your teeth can get by using this stuff. And you have nothing to lose since it's very inexpensive compared to other teeth whiteners that are out in the market.


I've been using this gel twice a day for four days and here are the results.
See how fast it works in just four days of application?


DISCLAIMER: The products reviewed on this blog are based on the opinions and experiences of the author. This product was purchased by the author and in no way was this review influenced by the company of the product.

Thursday, August 27, 2009

Giveaway For My Followers


I can't believe I've reached over 600 followers! Thank you so much everyone for following my blog. I realized I still had a couple of Revlon falsies and nails still stashed in my makeup case from when I did a review on them not too long ago. And because of you guys, I've decided to have a teeny tiny giveaway. Again, all you need to do is be a follower of my blog and leave a comment on this post. Deadline will be Monday, August 31, 2009 at 1159pm PDT. smile