Connect

Showing posts with label LOOKS: Teal. Show all posts

Tuesday, March 19, 2013

Teal & Coral Makeup for Spring

Spring is here and I can already feel it! It's been a while since I worked with colors so I figured what better way to welcome the Spring season than with a tutorial. I did a makeup look similar to this last year but using different colors. I'm just a huge fan of teal and coral together. The colors compliment each other so much! Anyway, I hope you all enjoy the look and the tutorial!

I also forgot to mention that I am officially a YouTube partner. I've been a "partner" for a while now but I recently partnered with Beautique which is operated by Fullscreen, a YouTube network. I'm so excited! I'm looking forward to even bigger and better opportunities for me and I look forward to collaborate with so many talented people. :)
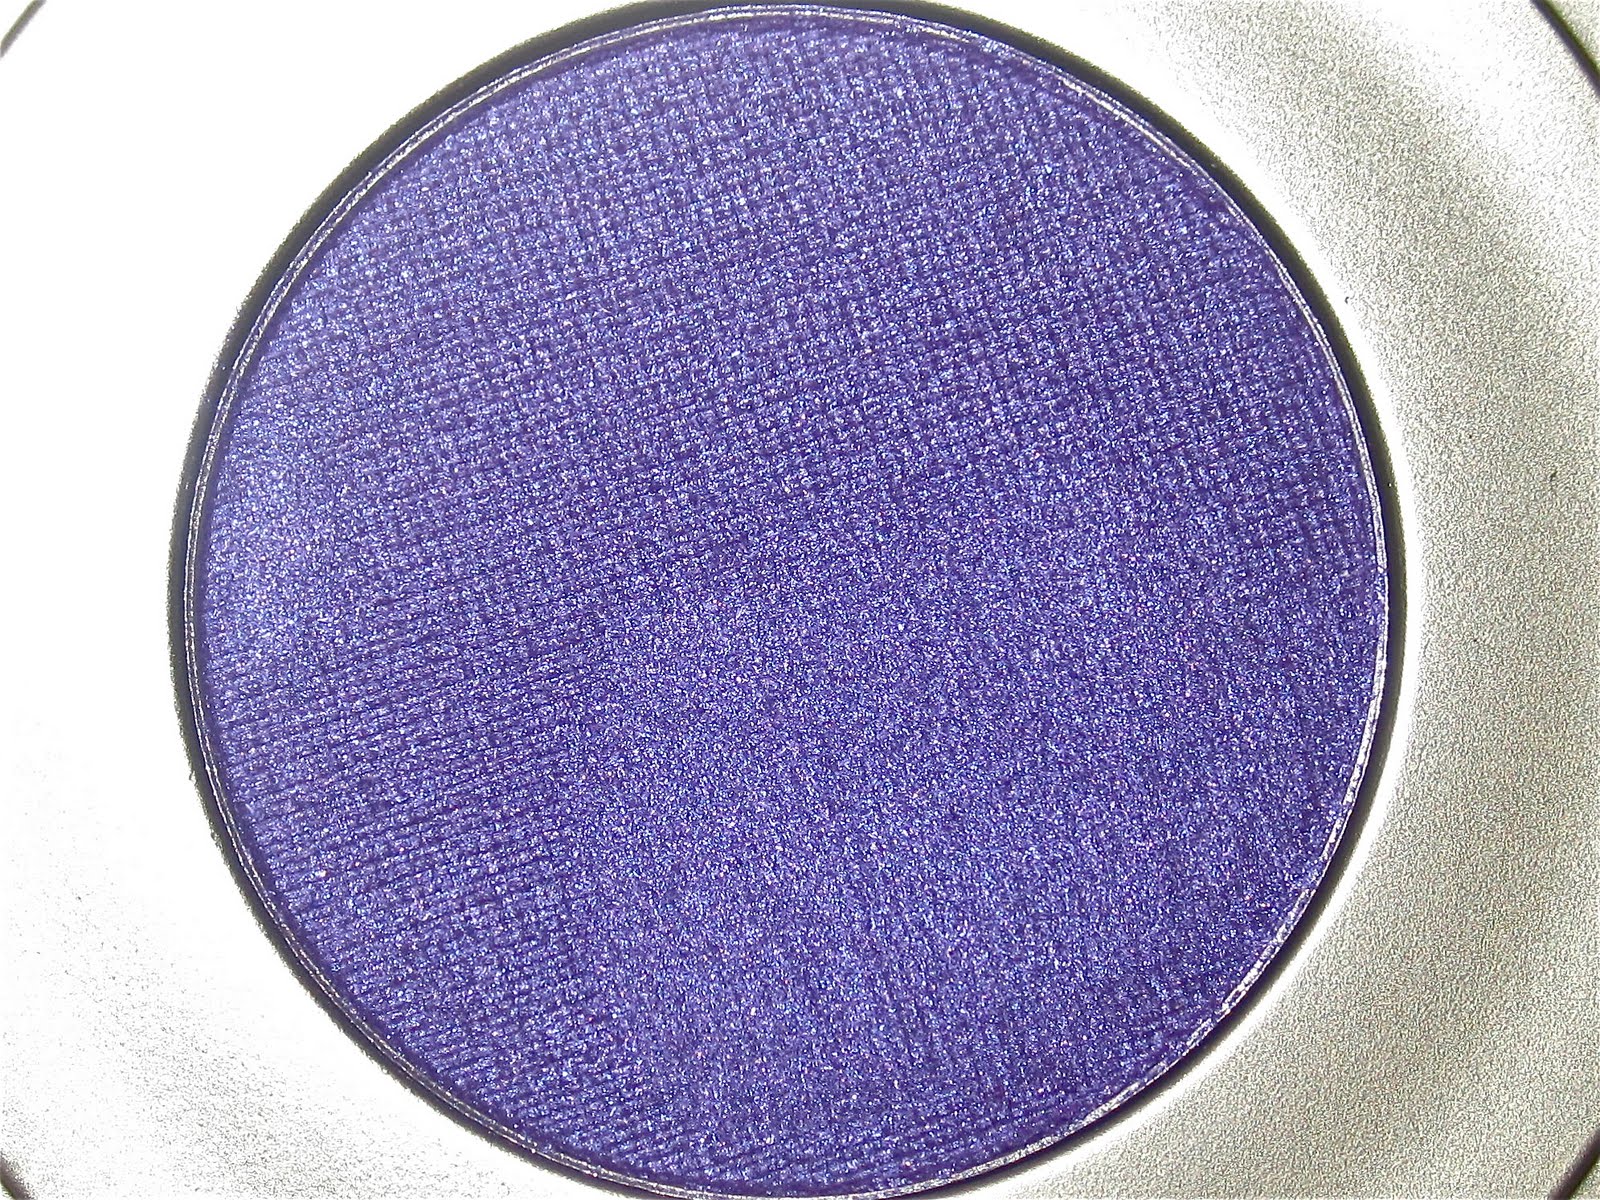


EYES:
Too Faced Shadow Insurance
MAC Soft Ochre Paint Pot
MAC Soft Brown eyeshadow (Crease/transition color)
Inglot #366 Matte eyeshadow (Coral Pink color/crease)
Inglot #51 AMC eyeshadow (Orange color/outer corner)
Inglot #361 Matte eyeshadow (Peach color/lid)
Inglot #352 Matte eyeshadow (Pale pink/inner corner)
MAC Sketch eyeshadow (Outer crease)
Urban Decay 24/7 Glide on Eye Pencil in Electric
Inglot #372 Matte eyeshadow (Teal color/lower lash line)
Inglot #504 DS eyeshadow (Dark teal color/outer lower lash line)
MAC Mylar eyeshadow (brow bone highlight)
Revlon Colorstay liquid eyeliner
MAC Opulash Optimum Black Mascara
Wispies lashes (no brand name)

FACE:
Smashbox Photo Finish Light primer
Covergirl Outlast Stay Fabulous 3 in 1 foundation (Nude Beige)
Graftobian corrector palette (peach color)
MUFE Full Cover Concealer #6
Ben Nye Luxury Powder in Cameo (loose powder)
MAC MSF Natural in Medium Plus (all over face powder)
MAC MSF Natural in Medium Deep (contour)
MAC Peaches blush
Hard Candy Baked Bronzer in Tiki

LIPS:
Wet N Wild Just Peachy lipstick
MAC Mimmy Lipglass (limited edition)

Thursday, November 17, 2011

Emeralds and Amethyst Makeup Look

Here's a Fall/Winter look that I think would look nice on anybody! Green is something I don't wear very often especially really bright green eyeshadow even though it's fun to play with and good to have around in your makeup stash :P But overall my favorite shades of green to incorporate in makeup are forest green, olive green, teal, and emerald green just to name a few! I'm really into dark vivid green shades and that's why I wanted to do this look. Adding a pop of color on the lower lash line is just my special touch that I like to do all the time. The purple really stands out but I find that it's still appropriate for this season. :)


EYES:
□ MAC Painterly Paint Pot
□ Wet N Wild Vanity Palette
□ Elf Studio Cream Eyeliner in Teal Tease
□ Earth Goddess Minerals Emerald Green eyeshadow
□ MAC Carbon eyeshadow
□ Urban Decay 24/7 eyeliner in Perversion
□ Glamour Doll Eyes Loose Shadow in Tattooed
□ Wet N Wild Creme Eyeliner
□ Maybelline Volum' Express Falsies Flared Mascara
□ Wet N Wild white eyeliner
□ Urban Decay Loose Pigment in Yeyo
□ Model 21 Lashes #19

BROWS:
□ NYC Brow Pencil in Taupe
□ NYC Browser Brow Kit

CHEEKS:
□ NARS Laguna Bronzer
□ MAC Feeling blush

LIPS:
□ MAC Angel lipstick
□ MAC Of Corset lipglass

Thursday, October 27, 2011

LOOK: Smokey Teal with a Pop of Red + Tutorial

This look is actually an inspired and recreated look of YouTube Guru Jazziebabycakes' Painted Lady tutorial. She's super talented and I'm a huge fan of her work and when I was browsing through her videos I fell in love with this so I decided to do my rendition of it. I think it came out a little bit sloppy (compared to hers). It was really late and my eyes kept watering but I kept going! I had a lot of fun doing this look because it's definitely something that I'm not used to. But it's nice to step out of my comfort zone every now and then. :) Thanks for reading! Enjoy! :)


EYES:
□ Urban Decay Primer Potion
□ MAC Otherworldly Paint Pot (LE)
□ Inglot 65 AMC eyeshadow (inner and outer corners)
□ Inglot 372 Matte eyeshadow (middle lid area and outer lower lash line)
□ MAC Shimmermoss eyeshadow (middle lid area)
□ Inglot 495 DS eyeshadow (inner brow bone area)
□ MAC Bitter eyeshadow (inner lower lash line)
□ MAC Blanc Type eyeshadow (brow bone)
□ Milani Liquif'Eye Metallic Eyeliner in Black (lower waterline)
□ Wet N Wild Creme Liner in Black (upper lash line)
□ Covergirl Lashblast mascara
□ Model 21 lashes No.3

BROWS:
□ NYC Brow Pencil in Taupe
□ NYC Browser Brow Kit

CHEEKS:
□ NARS Laguna Bronzer
□ Elf Fuchsia Fusion Blush

LIPS:
□ NYX Tea Rose lipstick
□ NYX Soap Opera Queen lipgloss

Friday, July 1, 2011

Look Using Senna Cosmetics + Review, Photos & Swatches

I've heard beauty bloggers talk about Senna Cosmetics and how great their products are so I was really excited to have the opportunity to try some of their products myself. I'm completely honest when it comes to doing product reviews especially for items that are sent to me from the company. I don't want anyone to feel like I'm being biased. So when I say that a product is amazing, I really mean it! And upon reviewing Senna Cosmetics, I have to say that I completely love the quality of their eyeshadows. Their price range is a little on the expensive side but in all honesty, you get what you pay for! If you haven't tried Senna Cosmetics, click here to find a retailer near you!


Malachite  Frosty teal

Bewitched  Dark chocolate brown with gold shimmer

Vivid  Bright metallic purple

Malachite, Bewitched, Vivid / No base ($16.50)
Thoughts  The vibrancy of these shadows are AMAZING. I really did not expect these shadows to give off so much color especially with very little effort. Just one swipe and you literally get amazing opacity. These shadows are pigmented and they blend well together. You get just a little bit of fall out but that's usually expected when it comes to really vibrant shadows that have shimmer. They don't crumble or feel powdery at all. The texture of them is soft enough to build on color but manageable enough that it doesn't brush off. I would say Malachite is definitely the most pigmented out of the three. Bewitched required more layers to build up because it has a more dryer texture than the other two. Vivid looked brighter in the packaging than it did when it was swatched but is still a pretty purple color.  

Kissy/Alabaster ($19.00)

Lip Laquer: Super delicious vanilla flavor, amazing lasting power, and full-textured but never sticky formula in the richest colors this side of the rainbow makes this the lip lacquer of choice for any serious lip gloss lover. The icing on the cake is that it conditions lips with Vitamin E and Jojoba.
Thoughts  I have to disagree with their "never sticky formula" because it is quite a bit on the sticky side. It's not unbearable but I do prefer a thinner consistency. You can also see that it's not the most pigmented lipgloss either. So I prefer to wear it on top of lipstick or alone if I just want a little shine. It lasts a couple of hours without drying out my lips and it's definitely moisturizing.

Shade 2 ($22.00)

Totally Transforming Eyeshadow Primer: This anti-aging neutral cream eye shadow primer contains a potent vegetable ogliopeptide from natural hibiscus that functions in much the same way that Botox injections do, but without the pain and loss of facial expression! Helps firm and smooth the eyelid while minimizing lines and wrinkles. Helps cover discolorations such as redness, darkness, or irregular pigmentation. Prepares the eyes for eye shadow application. Eye colors look richer and more true, and they last longer.
Thoughts  This primer offers very minimal creasing. It has a thick and creamy consistency so a little bit goes a long way. I prefer to use it on top of my Urban Decay Primer Potion just so I'm extra sure that my shadows won't crease especially since I have really oily eyelids. But it's definitely good enough to wear alone underneath your eyeshadow. It does not apply transparent but it dries to an opaque cream-tone finish. It's easy to blend onto your eyelids and you can use it more than just eyeshadow primer! You can also use it as a corrector and for creating a smoother canvas before makeup application.


DISCLAIMER: In no way is this blog accepting any form of payment for products received by companies. The products reviewed on this blog are based on the opinions and experiences of the author. The products in this review were provided by the company.

Thursday, May 5, 2011

Coral, Teal & Purple EOTD Using Inglot Cosmetics

I wore this look the other day and my boyfriend said it reminded him of movie theater carpet. Haha movie theater carpet!? I have no idea where guys come up with these things. He said it wasn't a bad thing, it was just the first thing that came to his head. But what a way to make me feel good... not! lol. Anyway, I did this look just for fun because I haven't used all my Inglot eyeshadows yet. Thanks for reading. Enjoy!


Inglot eyeshadow swatches

EYES:

Inglot 361 Matte (inner third)
Inglot 372 Matte (middle lid)
Inglot 504 DS (outer third)
Inglot 491 DS (outer corner & crease)
Inglot 351 Matte (highlight)
MAC Blacktrack fluidline
Model 21 Lashes No.x-36
CoverGirl LashBlast Fusion mascara
UD 24/7 eye pencil in Zero (set with MAC Carbon e/s)

BROWS:
NYC Browser brow kit

Wednesday, March 23, 2011

Smokey Teal Look

Hello everyone! I'm back again with another look, this time I was going for teal. I also decided to use these false eyelashes that were really difficult for me to pull off because they were uncomfortable and they didn't look right on me. I have so many pairs of them and I couldn't just let them sit there and collect dust. I ended up curling these false eyelashes with my eyelash curler to give them more flare and I must say, I'm glad I did! I didn't realize how gorgeous these lashes were until I curled them myself. Originally, they were straight and had very little volume. And you can see how full and voluminous they are now, not to mention comfortable! In case anyone might ask, I didn't curl the false eyelashes when they were already on my eyes. I curled them separately! Hope you all like this look. Tell me what you all think! Enjoy! :)


EYES:
UDPP as a primer
MAC Bare Study paint pot as a base
MAC Big T eyeshadow (LE) applied all over the lid
MAC Cork eyeshadow applied above the crease to contour
MAC Carbon eyeshadow applied to the crease
MAC Brule eyeshadow as a highlight
Sugarpill Tako eyeshadow applied to the inner corners
Maybelline gel eyeliner
MAC Smolder eye kohl
False eyelashes from Born Pretty Store

BROWS:
NYC Brow Pencil in Taupe
NYC Browser brow kit

CHEEKS:
MAC Spaced Out Blush
LIPS:
Benefit Bene Tint Cheek & Lip Stain
MAC Pink Fish Tinted Lip Conditioner (LE)

Friday, October 1, 2010

Peacock Inspired Look

Finally! After a decade of not posting any makeup looks, I finally got around to doing one today. But please be advised that these pictures are not done with any professional camera. I am still digital-cameraless and these pictures happen to be taken with my iPhone 4. So the quality of it may not be that great but I was actually very surprised to see how decent they came out. But anyway, I created this look using Glamour Doll Eyeshadows. Remember to check out their website and get 10% off your entire purchase of $10 or more by entering "tinamarieonline". :)


EYES:
UDPP in Eden as a primer
GDE Ahoy Sailor! applied to the entire lid (wet) and outer lower lash line
GDE Shamrock applied to the inner corners
GDE Chocoholic applied above the crease
GDE Electric Lemonade applied to inner corners and inner lower lash line
MAC Brule eyeshadow applied to browbone
GDE Cloud Coverage applied as highlight


CHEEKS:

MAC Feeling blush

LIPS:
Revlon Nude Attitude l/s
NYX Cafe Latte l/g

Monday, August 2, 2010

First Look Using Sugarpill Cosmetics


I was so excited to receive my Sugarpill package. I have heard so many good things about this cosmetics line that I just had to get my hands on their products. The color pigmentation is amazing. The colors are really creamy and smooth and they blend so well together. I seriously cannot wait to play around with more of these colors. I hope you enjoy this look!

Burning Heart Palette
top: Buttercupcake
left/right: Flamepoint, Poison Plum
bottom: Love+


 Sweetheart Palette
top: Afterparty
left/right: Dollipop, Tako
bottom: Midori


Natural light.


EYES:
All products are from Sugarpill unless otherwise stated
UDPP in Eden applied as a base
MAC Painterly Paint Pot applied to entire lid
Buttercupcake eyeshadow applied to the middle of eyelid
Midori applied above Buttercupake
Afterparty applied above Midori
Poison Plum applied above crease and lower lash line
Dollipop applied above Poison Plum
Tako applied under brow bone and inner corners
Revlon Colorstay liquid eyeliner on upper lash line
MAC Smolder eye kohl applied to lower waterline
CoverGirl LashBlast waterproof mascara
Model Lashes No.x-11

CHEEKS:
Random blush from Coastal Scents

LIPS:

MAC 4N lipstick